Planting Tulips
As November comes around and the days become shorter, I start longing for Spring and for the garden to come back to life. Planting spring flowering bulbs is the perfect antidote to those winter blues that can creep up on all of us, giving us a sense of future and something to look forward to.
With colours ranging from sunshine yellows, through to candy pinks, into jewel shades of red and purples, tulips offer a rich assortment of colours. Tulips come in different shapes and sizes, including amongst many the simple single cup shaped variety, the more luxurious double petal flowers, or the exuberant parrot tulips.
November and even as late as mid-December is the time for planting bulbs. The colder temperatures will envelope the bulbs, protecting them from potential fungal or viral diseases in the soil. Planting in layers or creating a bulb “lasagne” is a great way to create dramatic displays of colour and shapes for longer. So let’s get started!
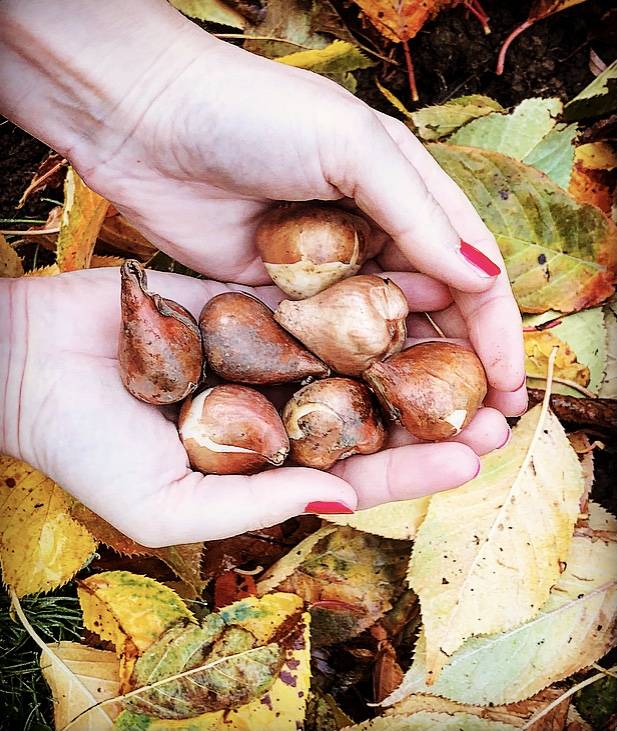
My plant ingredients…
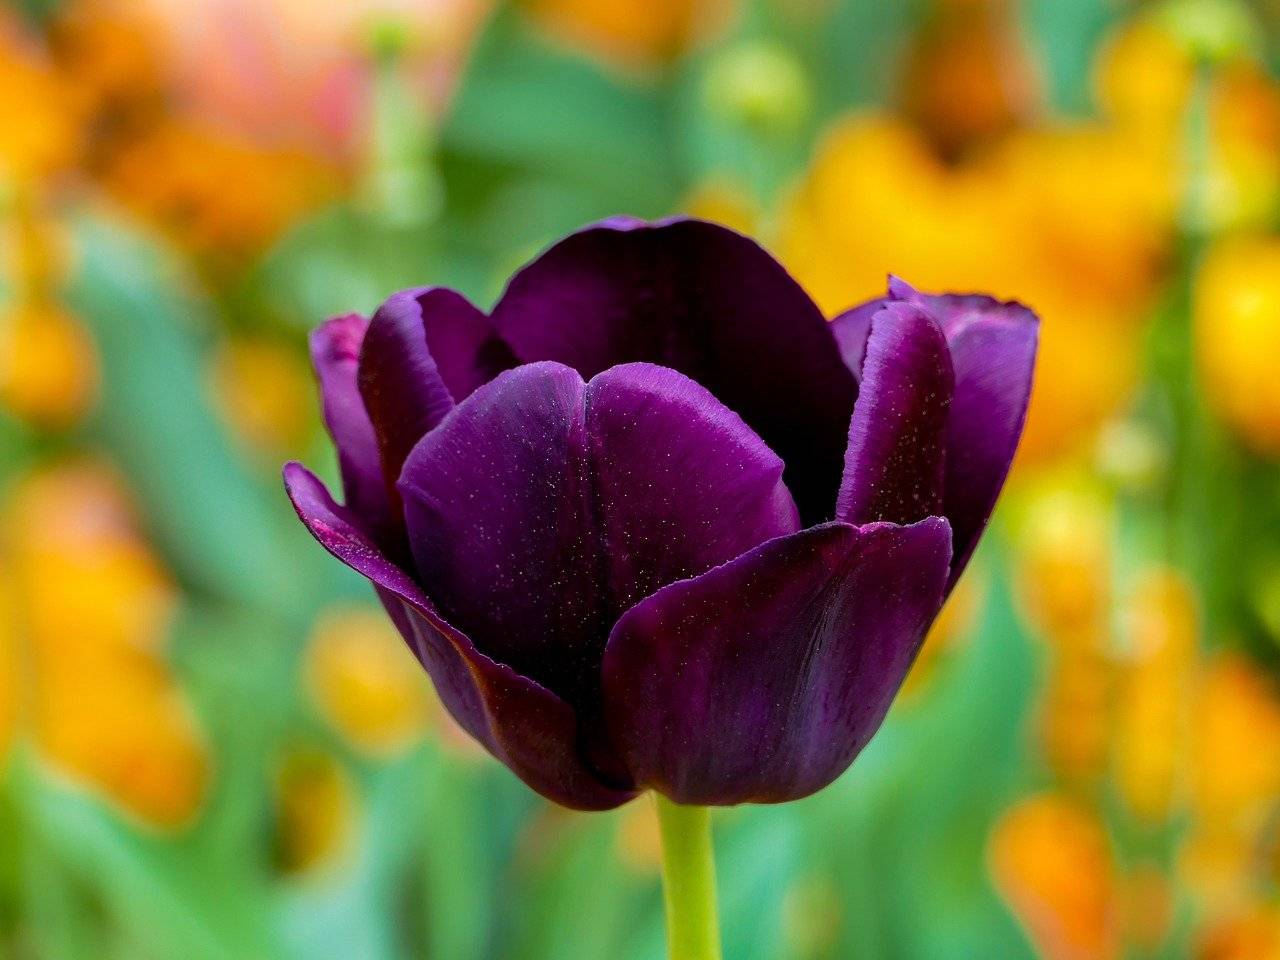
Tulip Purple Flag
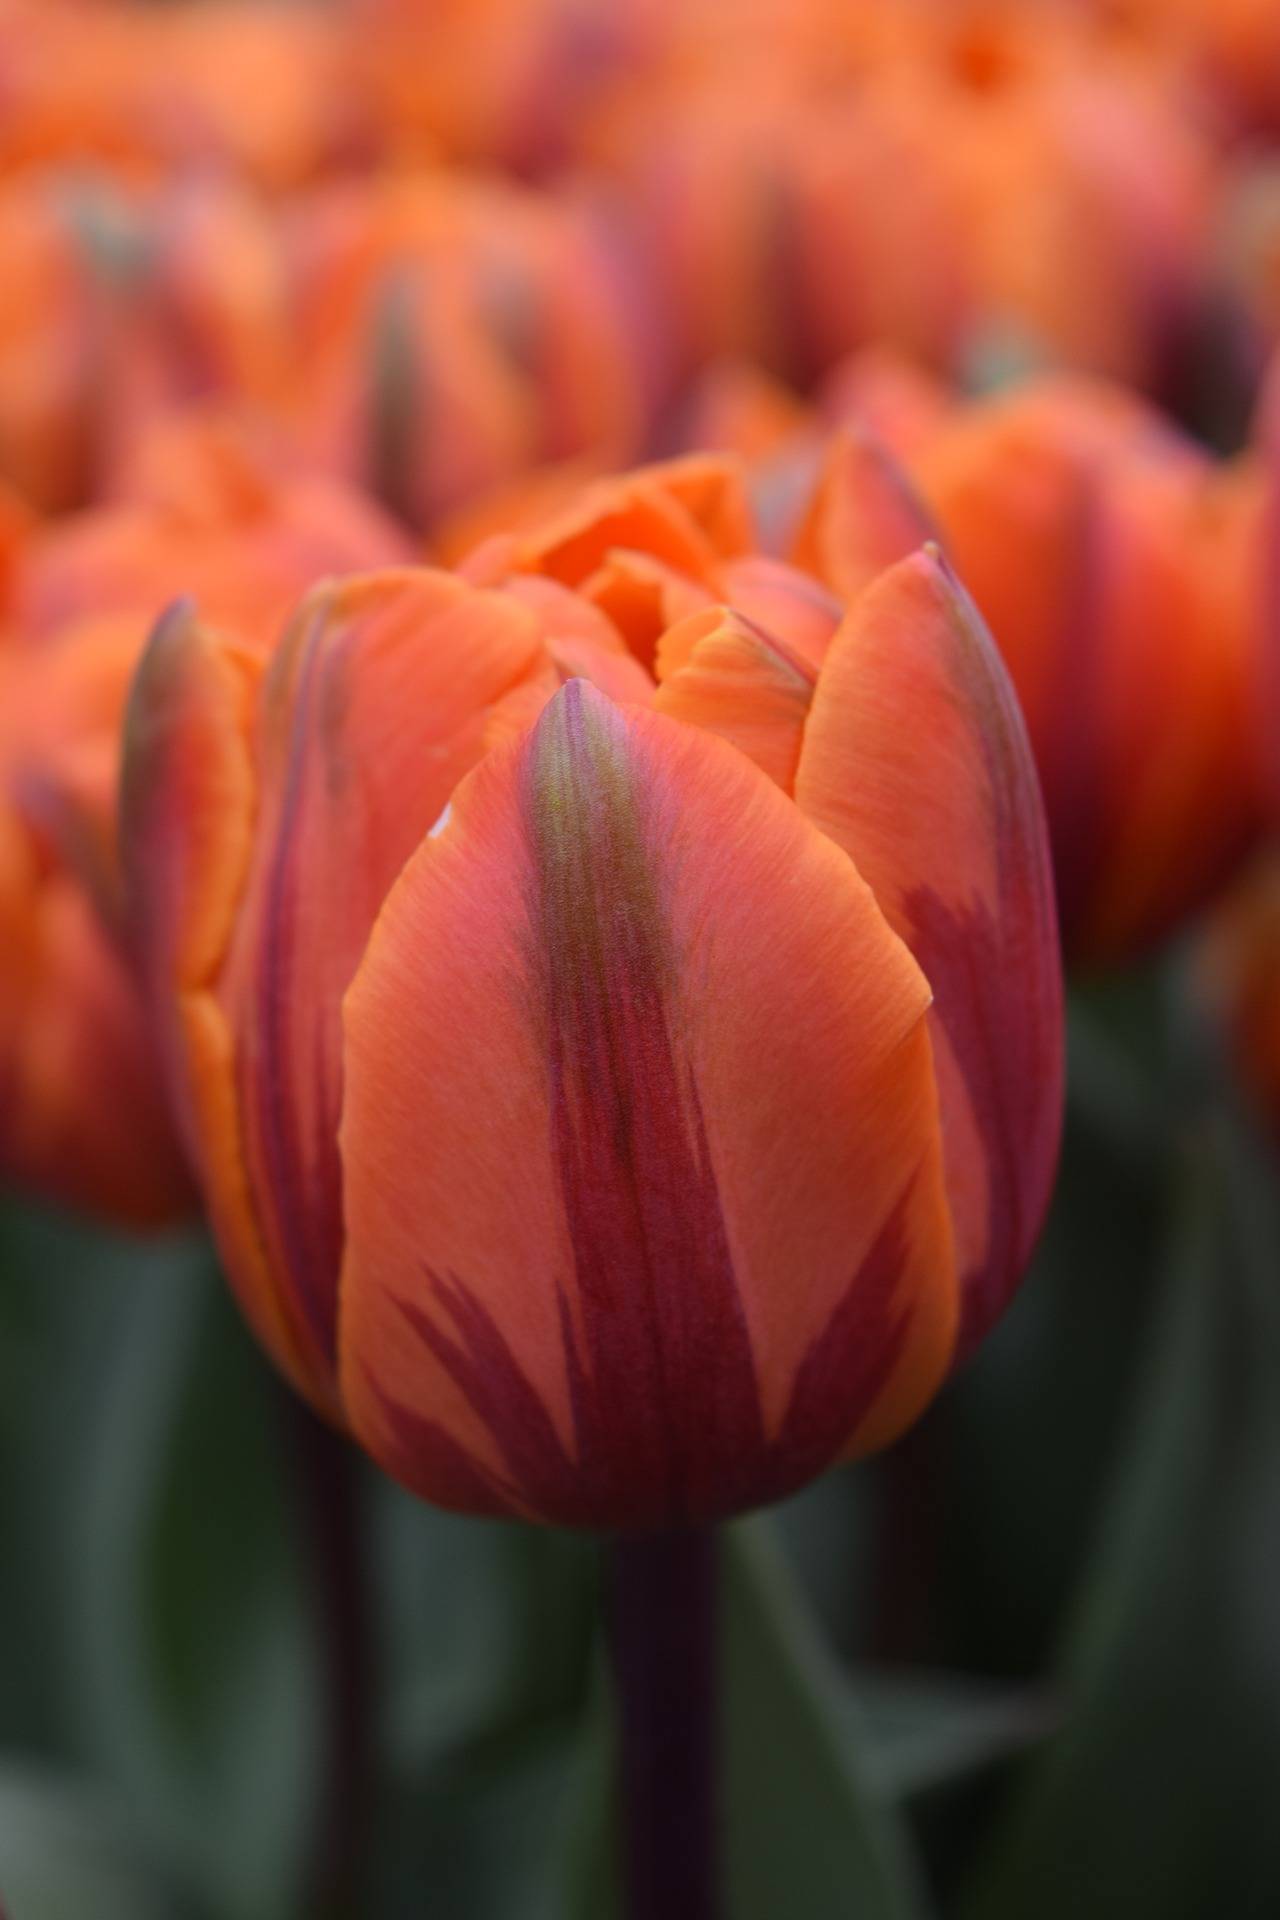
Tulip Princess Irene
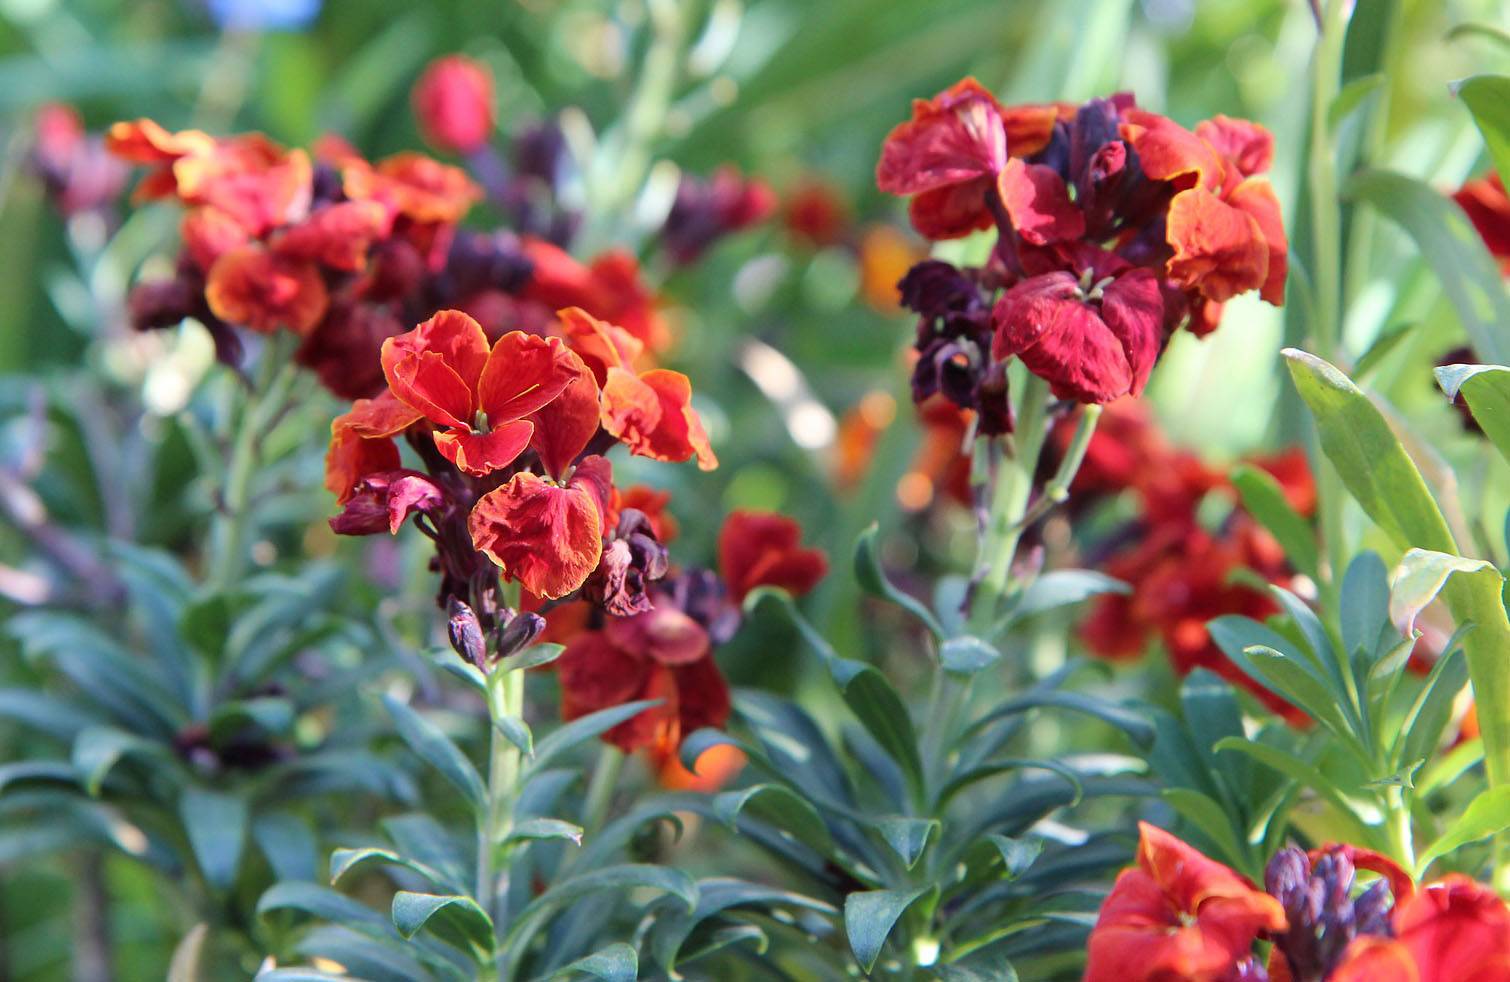
Wallflower Sugar Rush Red
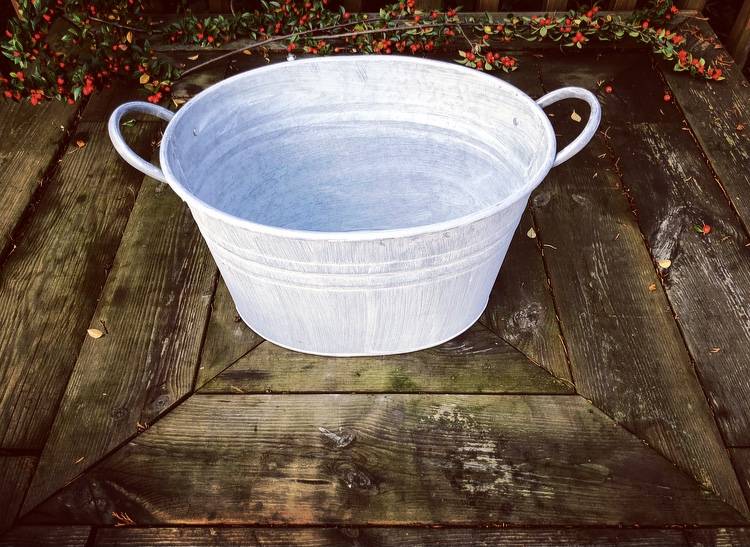
Rustic Metal Planter
Tulips love good drainage, so by drilling holes in the bottom of the planter and layering some beach pebbles (collected by my daughter) in the base, the bulbs should thrive. To give the compost some extra drainage, I mixed in plenty of grit.
The first to go in were triumph tulip bulbs called Purple Flag. They should grow to about 45cm and display a rich plum colour with a light fragrance. I planted them at about 25cm depth, pointy end up and about 10cm apart. I then covered them with a layer of the gritty compost.
The second tulip bulbs are called Prinses Irene. They have slightly shorter stems and will have pale orange petals with splashes of purple, which should pick up the colour of the Purple Flag tulips. I then covered them with a layer of the gritty compost.
The tulips should flower around April. To give the pot some interest in the meantime, I planted some Wallflowers Sugar Rush Red, which will bloom over Autumn and again in Spring.
I watered the pot in well. That should be enough until next year. Now we wait and look forward to a glorious Spring time display.
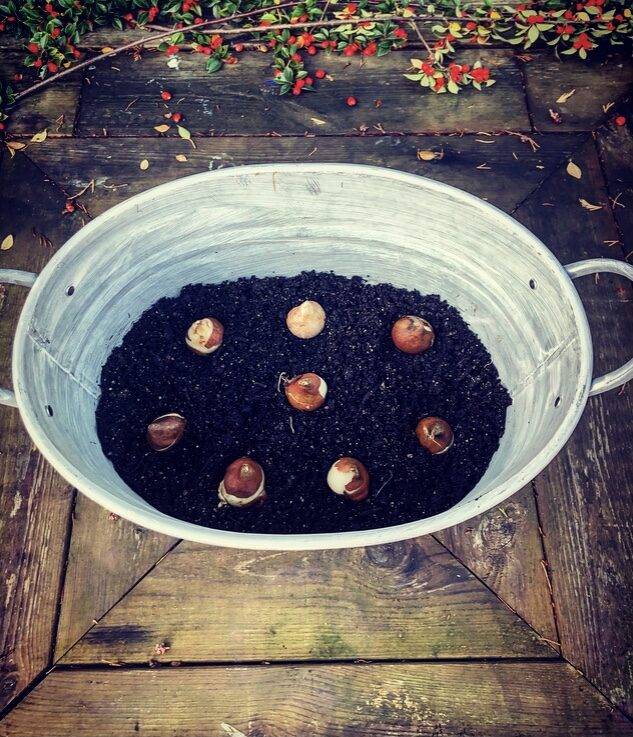
Layer 1
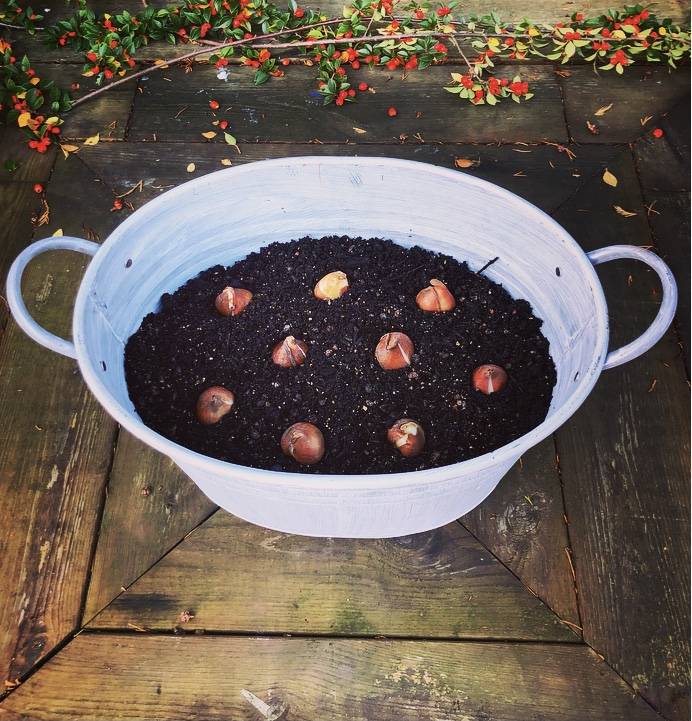
Layer 2

Spring Planter
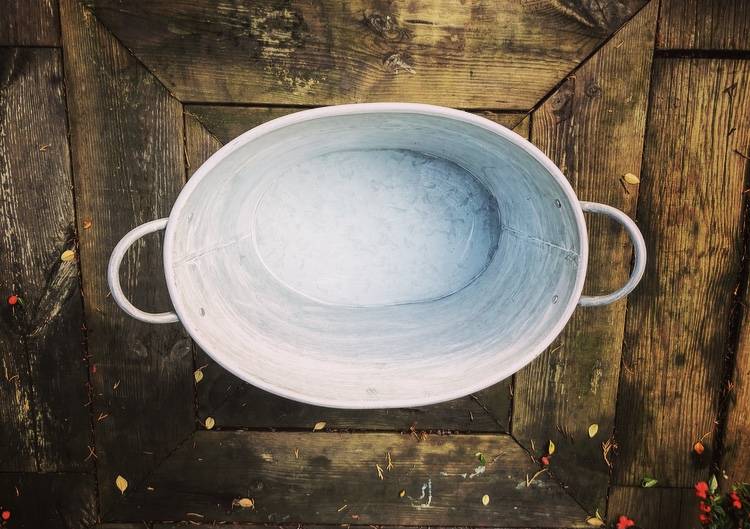
Planter
Get in touch…
