Winter Pruning
We inherited this old man of an apple tree with the house.
The tree had been left to overgrow for a decade, so a couple of years ago we got a tree surgeon to take a look at it.
He gave the tree a hard prune, opening up the branches, which can be clearly seen where the new growth has sprouted.
I don’t know what type of apples it bears, but it produces a lot! Fresh from the tree, they taste quite bitter but make delicious cooking apples.
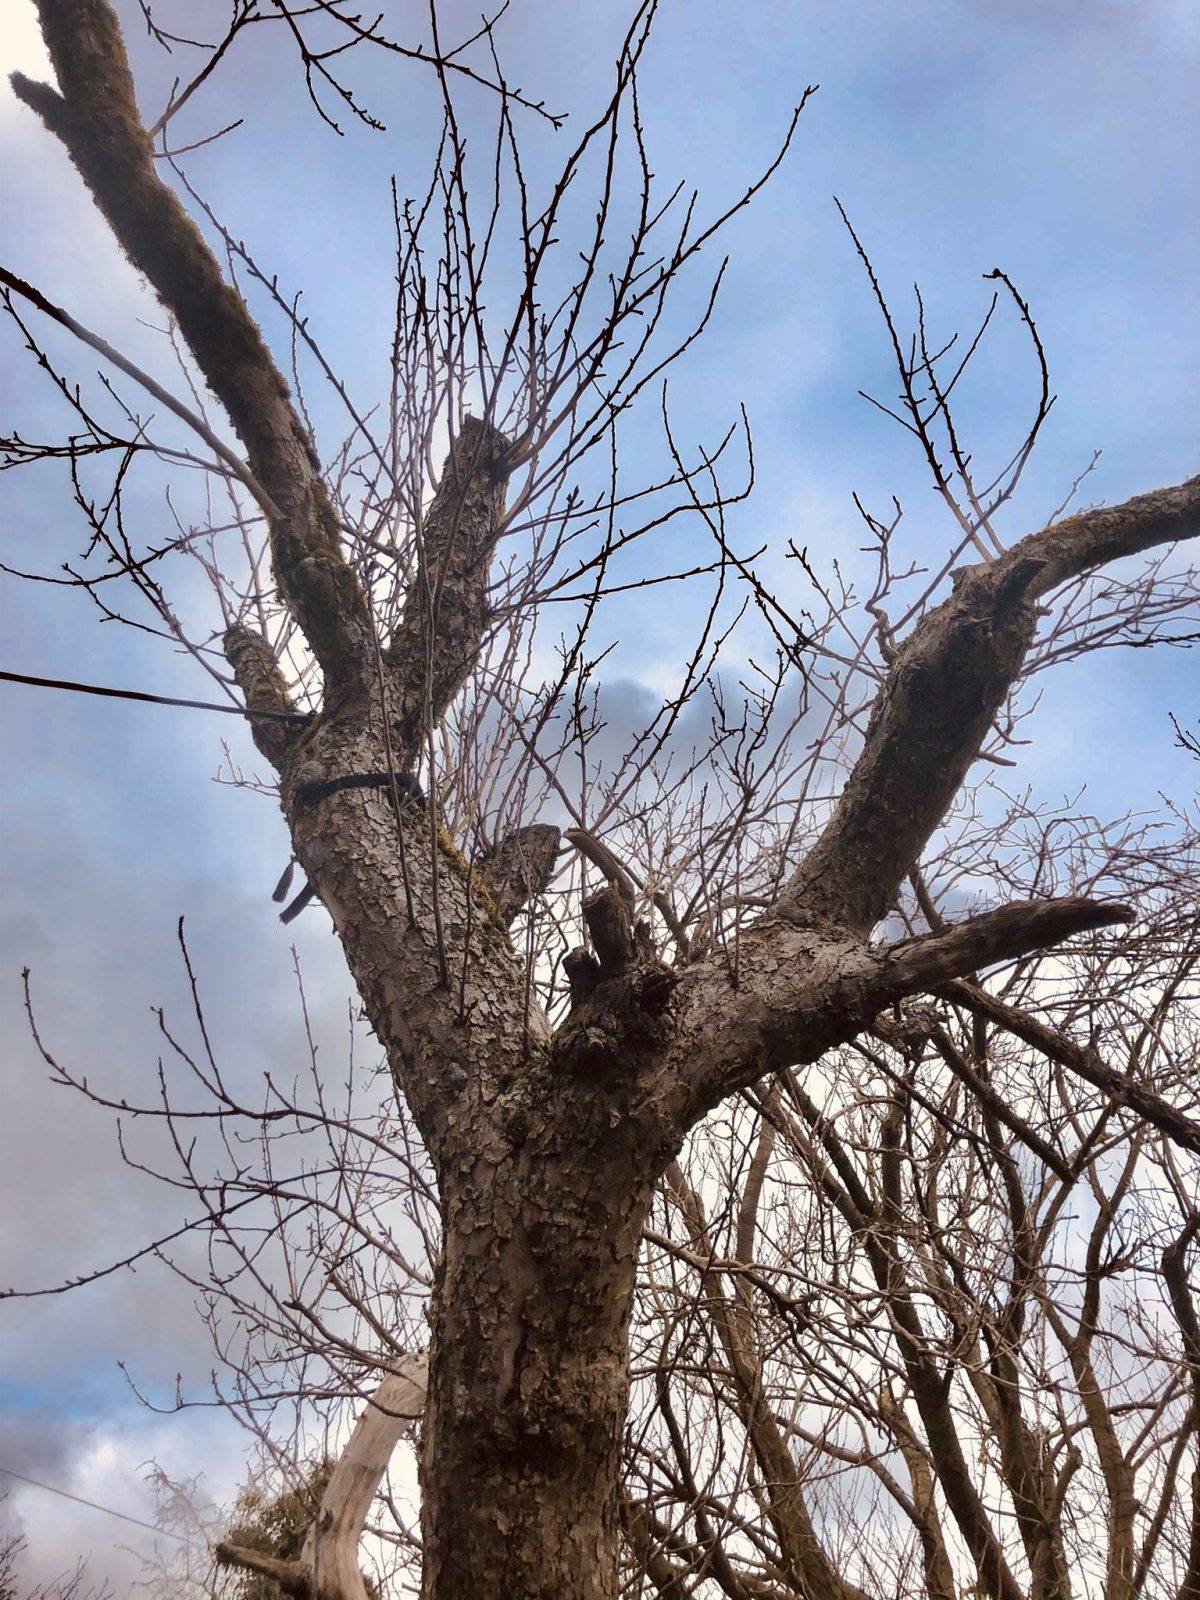
I don’t know about you, but I found the idea of pruning this established tree pretty daunting. Since the tree’s hard prune by the tree surgeon, a lot of vertical growth has sprouted. Feeling unsure, I decided to leave this new growth for this year, as it has been reaching into the empty central space of the canopy. I’ll re-visit them next year. So for my first apple tree prune, I concentrated on the the obvious bits first…..
New growth at base of tree

Suckers on the lower trunk
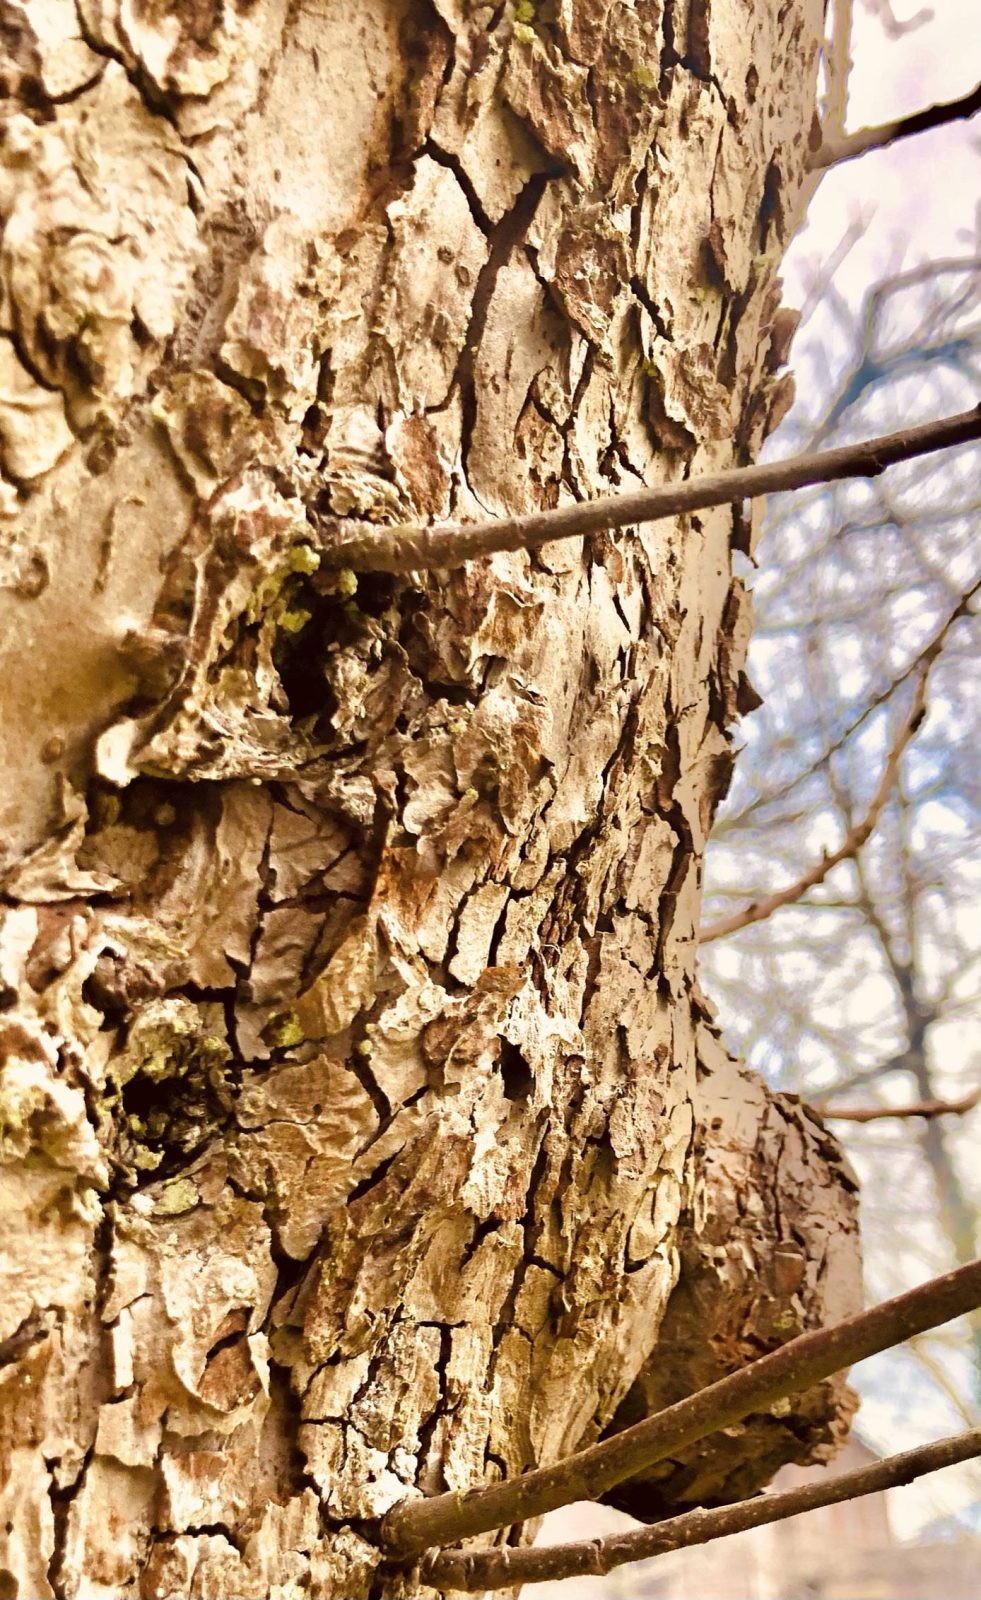
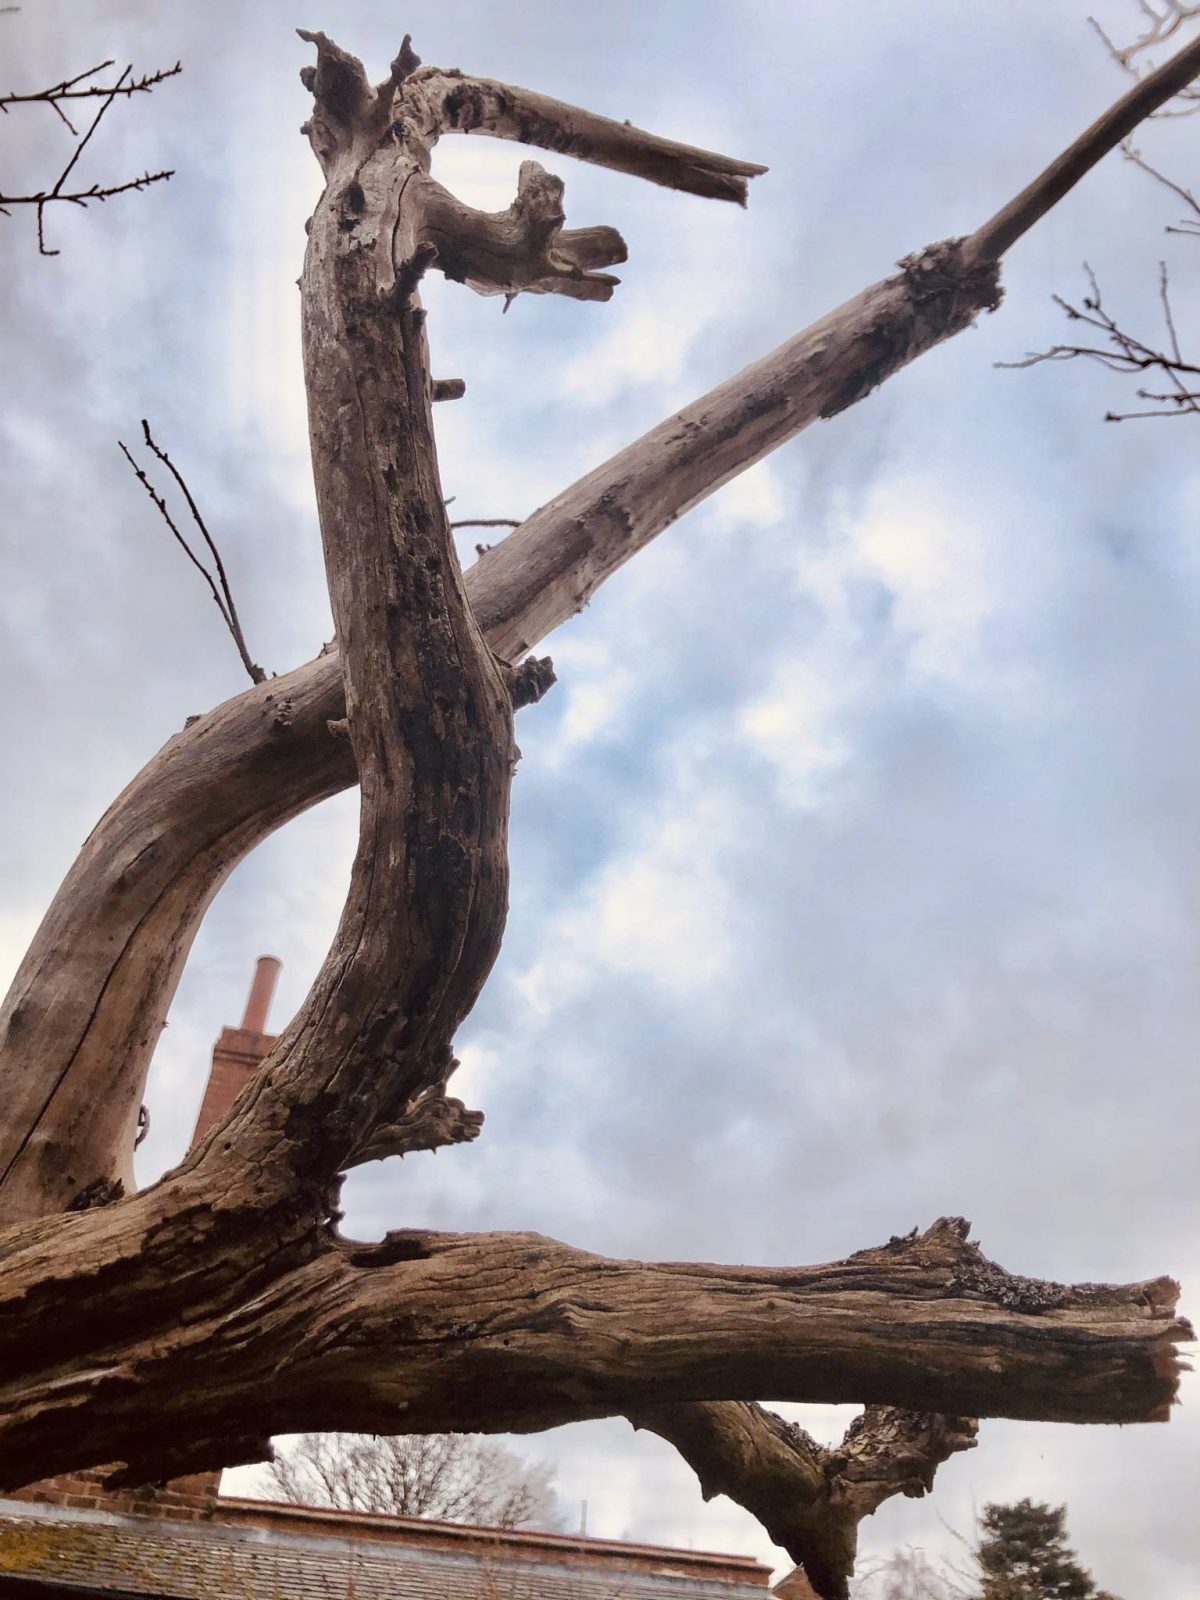
Dead branches and growth
Get pruning…..
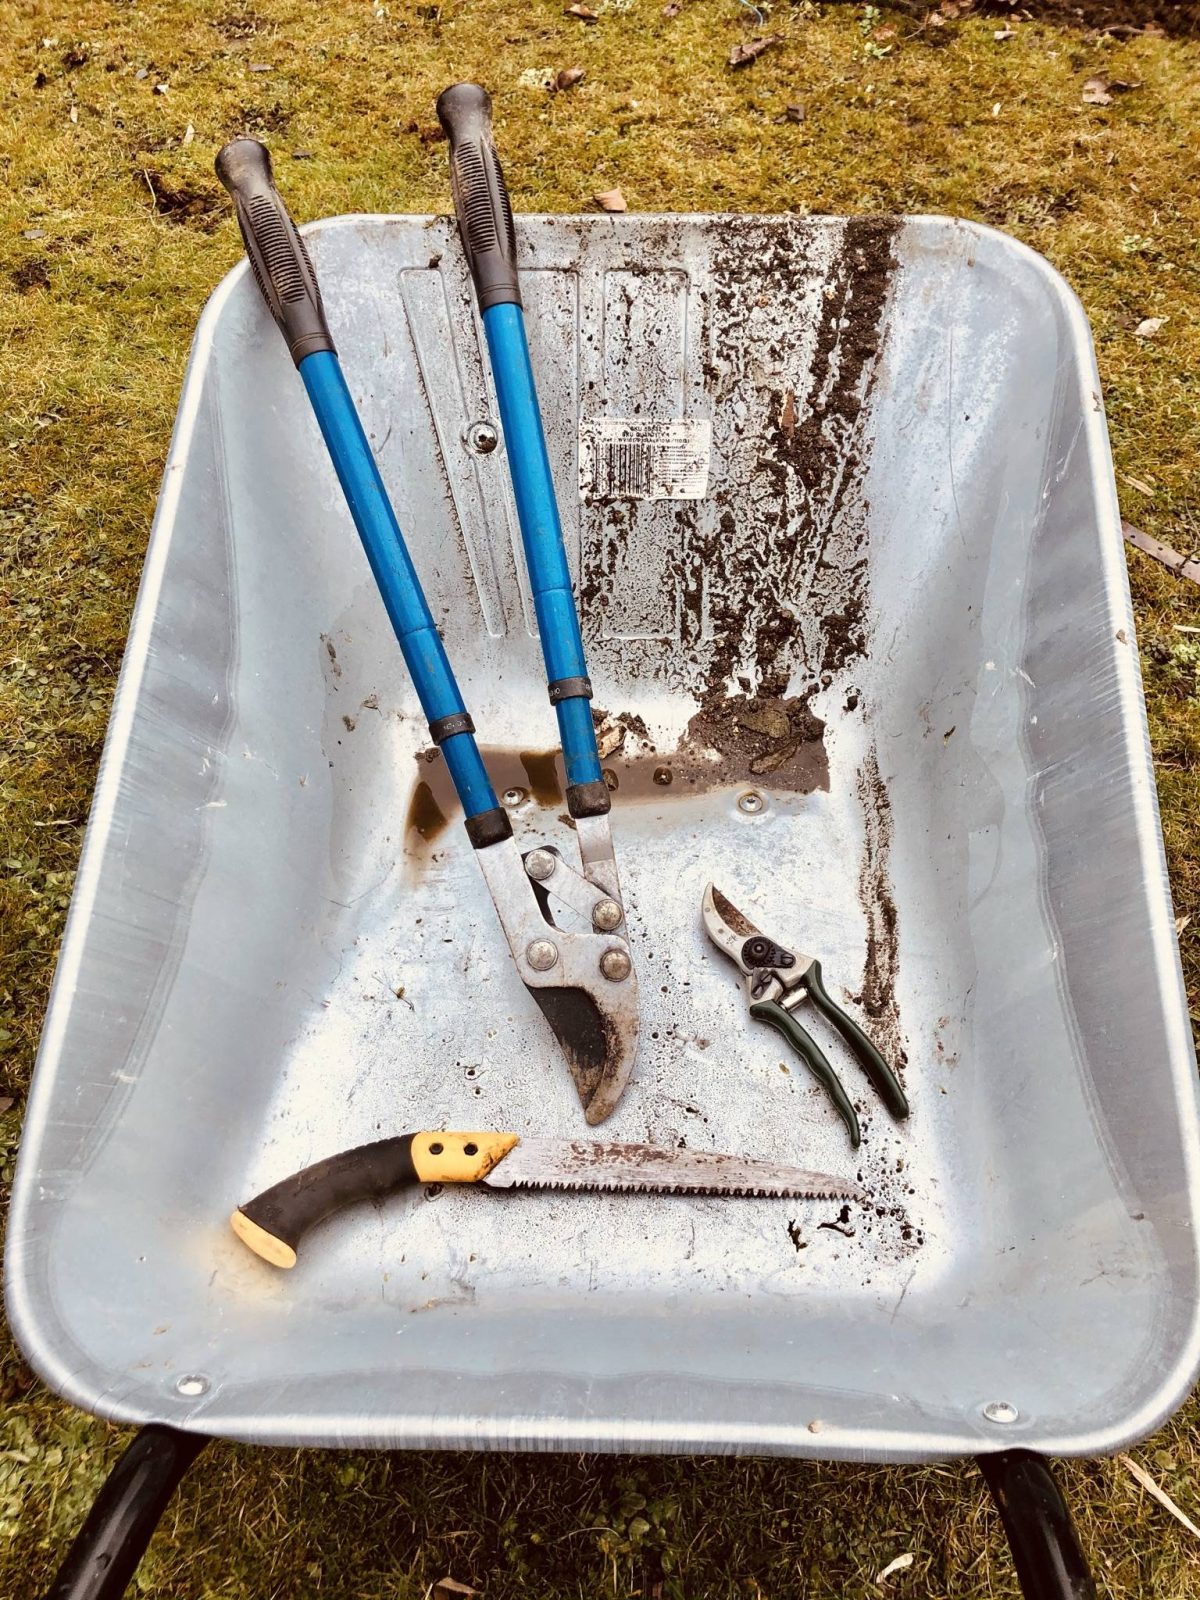
I used sharp loppers, a pruning saw and secateurs.
I started with the new growth at the base of the tree using the loppers; worked my way up the trunk cutting off any suckers with the secateurs and sawed off a dead branch.
I removed any branches that were obviously crossing or rubbing against others, to prevent the tree causing damage to itself.
To encourage a pleasing shape, I trimmed some of the main branches by about a third, up to a bud that would face in the direction I want it to grow. I left any new side shoots alone, to give them a chance to develop and create fruit.
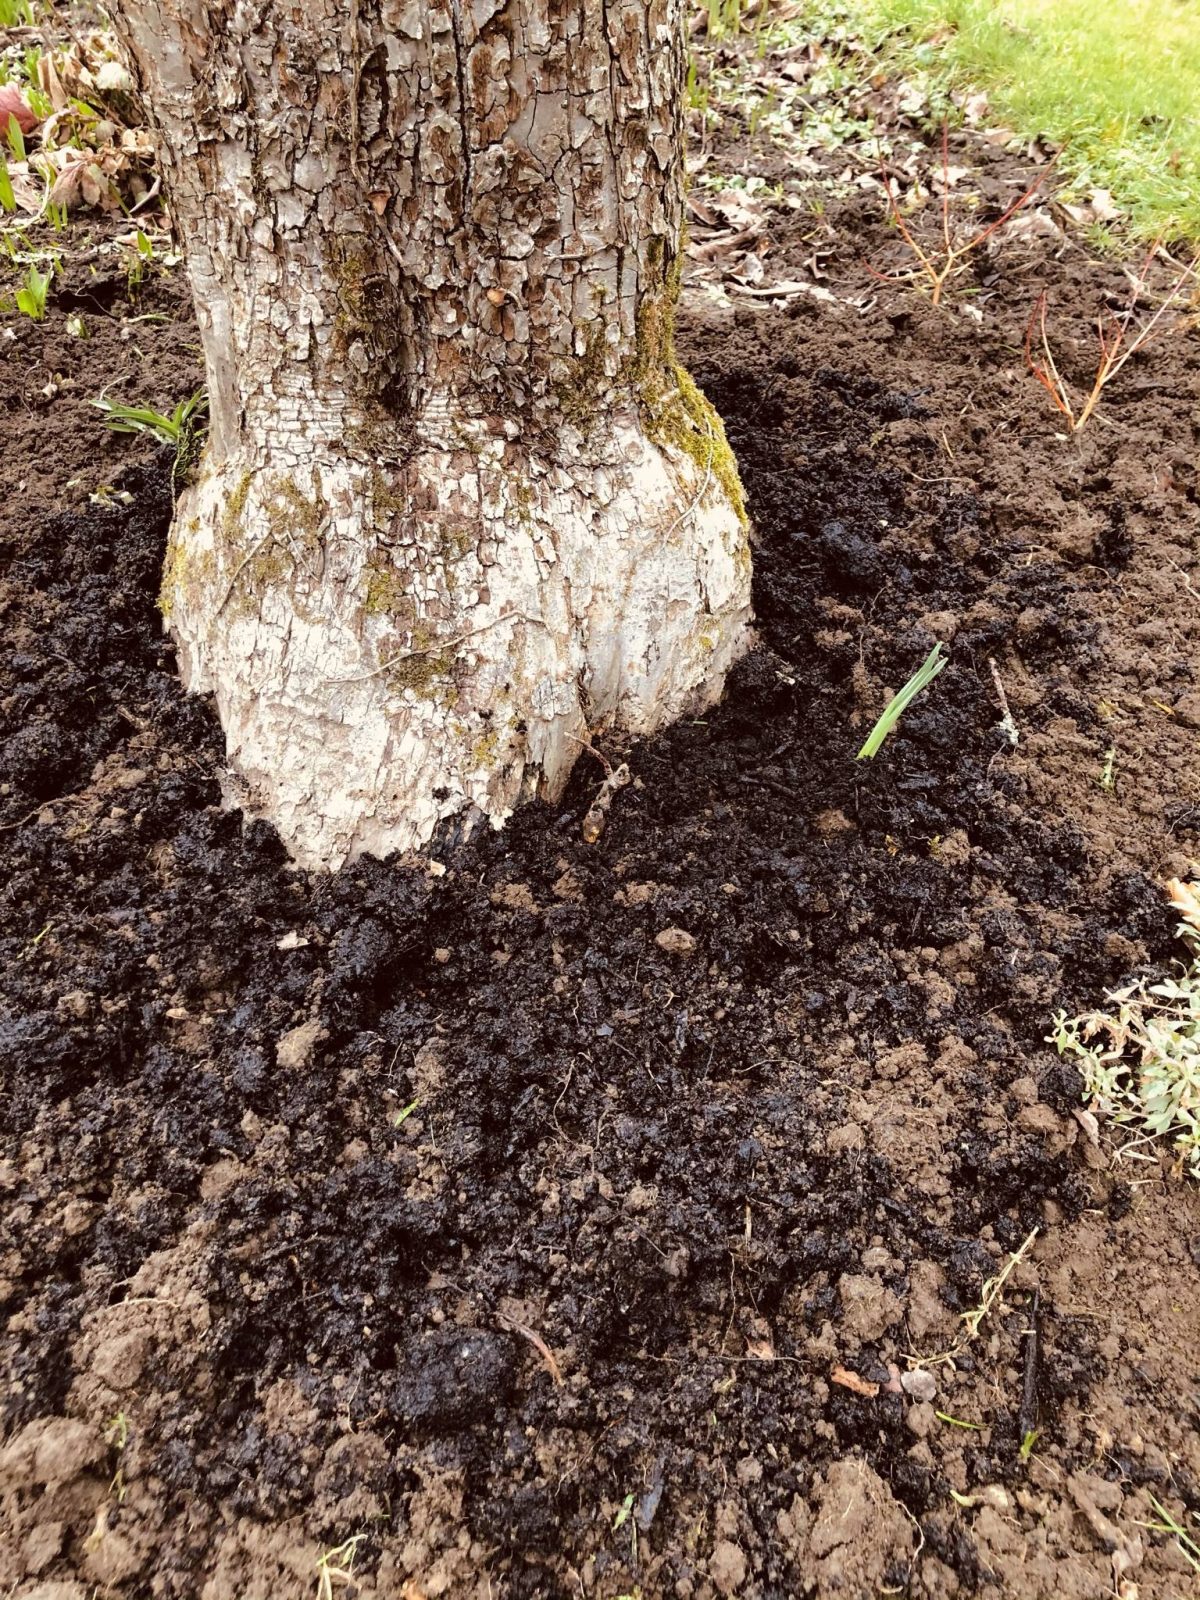
I finished off with some multi-purpose compost dug in around the base of the tree.
Hopefully we can look forward to a scrumptious harvest and some Autumnal apple pies!
Get in touch…..
